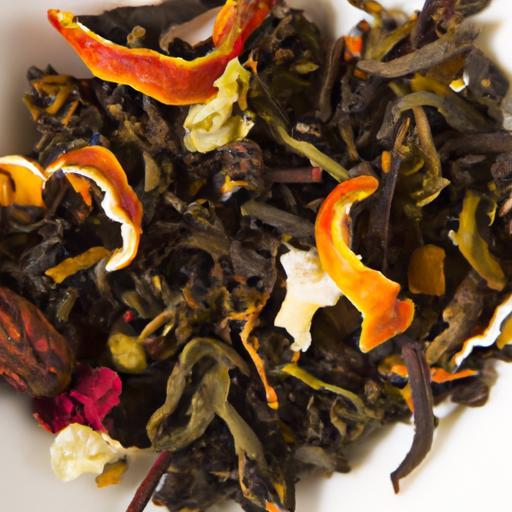
In the quiet corners of kitchens and sunlit garden nooks, an ancient ritual unfolds-a dance between nature and nurture that transforms fresh, fragrant leaves into potent little packets of herbal magic. Drying your own tea leaves is more than just a method; it’s an art form that unlocks hidden flavors, preserves delicate aromas, and offers a personal connection to the herbs you cherish. Whether you’re a seasoned tea artisan or a curious beginner, crafting your own dried tea leaves is a journey into tradition, science, and sensory delight. Join us as we explore the enchanting process of drying herbal leaves, turning simple garden treasures into soul-soothing brews that tell a story in every sip.
Crafting Herbal Magic: Choosing the Perfect Herbs for Flavorful and Healing Brews
Crafting Herbal Magic begins with handpicking fresh, vibrant herbs that not only tantalize your taste buds but also deliver soothing, healing properties in every sip. Whether you’re drawn to the calming whispers of chamomile or the invigorating zest of mint, selecting herbs at their peak ensures a brew blossoming with natural potency and flavor. Let’s embark on this fragrant journey where nature’s bounty transforms into your personalized cup of wellness.
Prep and Cook Time
- Preparation: 15 minutes
- Drying Time (Air-Dry): 3-7 days
- Drying Time (Oven-Dry): 2-3 hours
Yield
- Approximately 1/2 to 1 cup of dried leaves per 2 cups of fresh herbs
- Enough for 10-15 servings of herbal tea
Difficulty Level
Easy to Medium – suitable for beginners and seasoned herbalists looking to master preservation techniques
Ingredients
- 2 cups fresh herbs: Choose from peppermint, chamomile, lemon balm, rosemary, or lavender
- Optional: Twine or rubber bands for bundling herbs
- Optional: Baking sheet and parchment paper for oven drying
Instructions
- Harvesting the Herbs: Pick herbs early in the morning after dew evaporates, when essential oils are at their strongest. Snip off healthy stems and leaves, avoiding any that show signs of damage or disease.
- Cleaning: Gently rinse the herbs under cool water to remove dirt and insects. Pat dry with a clean towel or use a salad spinner to remove excess moisture without bruising delicate leaves.
- Leaf Preparation: Strip larger leaves from thicker stems to promote even drying. You can keep some stems if they are tender, as they contribute flavor and structure.
- Air Drying Technique: Tie herb bundles with twine, ensuring good airflow. Hang upside down in a warm, well-ventilated, dark space free from humidity. Check daily for dryness; leaves should crumble easily when ready.
- Oven Drying Technique: Preheat your oven to 100-110°F (38-43°C). Spread leaves in a single layer on a parchment-lined baking sheet. Place in the oven with the door slightly ajar to allow moisture to escape. Dry for 2-3 hours, flipping leaves halfway through.
- Testing for Dryness: Crush a leaf between your fingers. It should break rather than bend, indicating full dehydration.
- Storing Dried Herbs: Transfer dried leaves into airtight, dark containers such as glass jars or metal tins. Keep them in a cool, dry place away from direct sunlight to protect aroma and potency.
Tips for Success
- Choose herbs free of pesticides to ensure the purity and safety of your brew.
- Avoid washing herbs too early; dry them thoroughly after washing to prevent mold during drying.
- For air drying, use breathable containers or mesh racks to enhance airflow if hanging space is limited.
- Rotate oven-dried leaves gently to promote even dehydration and avoid scorching.
- Label jars with herb name and drying date; freshness is best within six months to a year.
Serving Suggestions
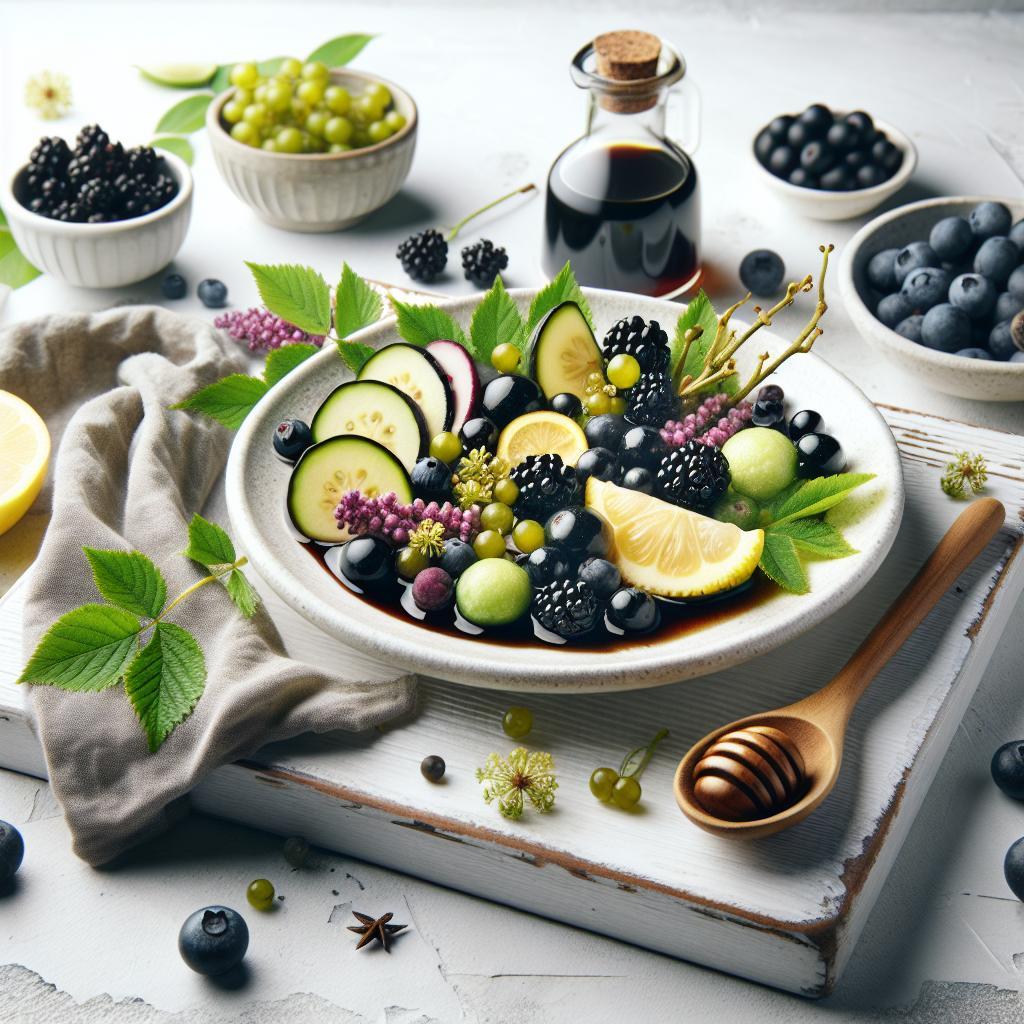
Immerse yourself in the zen ritual of brewing freshly dried herbs by steeping 1-2 teaspoons per cup of boiling water for 5-7 minutes. Enhance your serving by adding a drizzle of honey, a slice of fresh lemon, or a sprig of the original herb for a fragrant finish. Pair your herbal tea with light pastries or fresh fruit to complement the natural flavors and create a peaceful moment of indulgence.

| Herb | Calories (per tsp dried) | Flavor Profile | Healing Properties |
|---|---|---|---|
| Chamomile | 2 | Sweet, floral | Calming, anti-inflammatory |
| Peppermint | 1 | Cool, minty | Digestive aid, refreshing |
| Lemon Balm | 2 | Citrus, mildly sweet | Stress relief, antiviral |
| Rosemary | 3 | Piney, woody | Memory boost, antioxidant |
| Lavender | 2 | Floral, slightly minty | Relaxant, mood enhancer |
Discover more about the art of drying herbs and preserving flavors in our Ultimate Guide to Herb Drying. For scientific insights on the benefits of herbal teas, visit NCBI’s comprehensive herbal review.
Q&A
Q&A: Crafting Herbal Magic – How to Dry Your Own Tea Leaves
Q1: Why should I dry my own tea leaves instead of buying pre-packaged tea?
A1: Drying your own tea leaves is like weaving a personal spell-each batch captures the unique essence of your garden and the touch of your hands. Freshly dried leaves retain vibrant flavors, richer aromas, and unmatched freshness that store-bought teas rarely offer. Plus, it’s a sustainable ritual that reconnects you with nature’s bounty.
Q2: Which herbs are best suited for drying to make tea?
A2: Almost any aromatic herb can be transformed into tea magic-think fragrant chamomile, zesty lemon balm, calming mint, or floral lavender. Choose herbs that you love and that thrive in your garden; drying intensifies their natural properties, turning simple leaves into potent elixirs.
Q3: What’s the ideal method to dry tea leaves at home?
A3: The most ancient and gentle method is air drying. Gather your freshly picked leaves, tie them in small bundles, and hang them upside down in a warm, dark, and well-ventilated spot. This slow drying preserves essential oils and natural color. For quicker results, a low-temperature oven or dehydrator can be used, but beware: too much heat is like casting a spell backward-it can rob flavor and aroma.
Q4: How do I know when the tea leaves are perfectly dried?
A4: Dried leaves should feel crisp and crumble easily between your fingers. When you rub a leaf, it releases a burst of fragrance-the sign that the magic is locked inside. Moisture is the enemy here; any lingering dampness may lead to mold, spoiling your carefully crafted brew.
Q5: How should I store my dried tea leaves to keep their enchantment fresh?
A5: Store your dried leaves in airtight glass jars, away from sunlight and heat. Dark, cool pantries or cabinets work well. Label each jar with the herb’s name and the drying date. When cared for like this, your herbal treasures will keep their potency and flavor for months, ready to summon serenity or sparkle on demand.
Q6: Can drying tea leaves enhance their healing properties?
A6: Indeed! Drying concentrates the herbs’ natural compounds, often intensifying therapeutic benefits like calming nerves or aiding digestion. However, beware of overheating-which can diminish these powers. Gentle drying locks in healing light, preserving the plant’s true essence.
Q7: Any final tips for aspiring herbal tea crafters?
A7: Harvest in the morning after dew has dried, but before the sun’s intense shine fades the plant’s vitality. Handle gently-treat your herbs as precious allies. Experiment with blends, notes, and infusions. Remember, crafting your own tea is more than a process-it’s a daily ritual of magic, mindfulness, and nourishment.
Final Thoughts
As the final leaves settle into their crisp, fragrant form, you’ve unlocked a timeless ritual-transforming fresh herbs into your own personal elixir. Crafting herbal tea from home isn’t just about quenching thirst; it’s about capturing the essence of nature’s bounty, leaf by leaf. With patience, care, and a touch of magic, your dried tea leaves become a fragrant treasure, ready to infuse your cups with wellness and wonder. So, gather your herbs, embrace the drying dance, and sip slowly-because every cup you brew carries the story of your handcrafted craft and the whispers of ancient herbal wisdom. Here’s to turning your kitchen into a sanctuary of flavor and healing, one leaf at a time.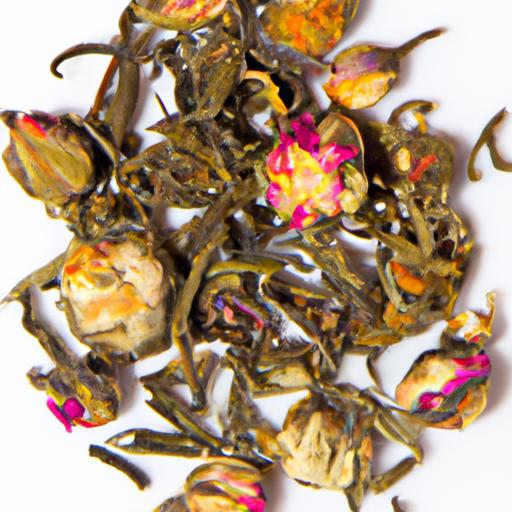


