In the world of natural remedies and wholesome wellness, few concoctions shine as brightly as elderberry syrup. Bursting with rich nutrients and vibrant flavor, this ancient elixir has been revered for centuries as a powerful ally against the common cold and flu. But crafting the perfect elderberry syrup is more than just a simple recipe-it’s an art, a ritual that blends tradition, science, and a touch of patience. Whether you’re a seasoned herbalist or a curious beginner, our step-by-step guide will walk you through the magic of transforming fresh elderberries into a syrup that’s as potent as it is delicious. Prepare to harness nature’s bounty and boost your health, one drop at a time.
Selecting the Finest Elderberries for Maximum Potency
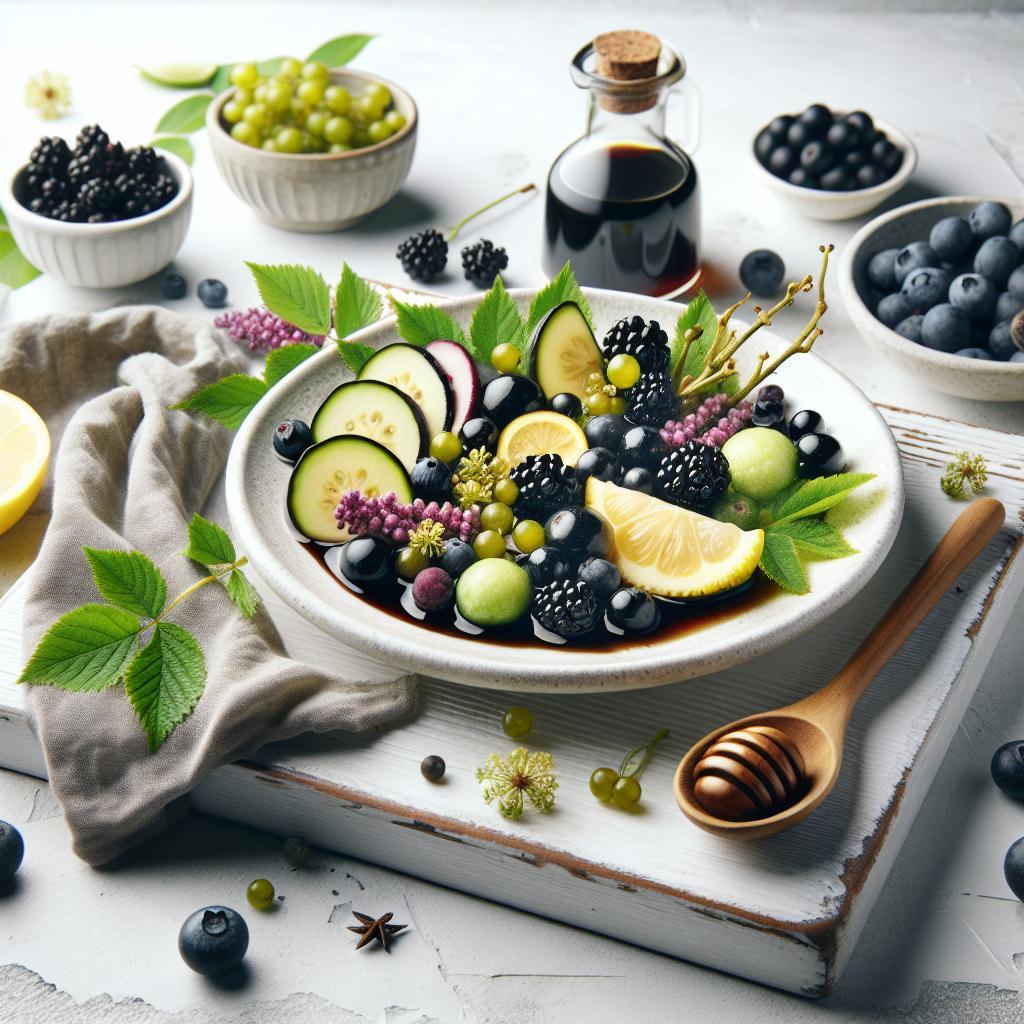
Crafting the Perfect Elderberry Syrup begins with the crucial step of choosing elderberries at their peak. Fresh elderberries, deep purple-black and slightly glossy, offer the richest antioxidants and immune-boosting flavonoids needed for a potent syrup. Opt for ripe, handpicked berries from trusted organic sources or wild-harvested regions to avoid pesticides and maximize nutrient density.
Look for elderberries that are firm and intact, avoiding any shriveled or green berries which can contain harmful toxins. Foraging can be rewarding but ensure correct identification or source from certified vendors specializing in elderberries. This careful selection sets the foundation for a bold, healthful syrup.
Balancing Flavors to Enhance Health Benefits
Once your elderberries are ready, balancing the bold, earthy tartness with natural sweeteners and complementary spices creates a harmonious flavor while amplifying the syrup’s health benefits. Crafting the Perfect Elderberry Syrup involves adding real honey or organic maple syrup for natural sweetness, which acts as a gentle throat soother and immune enhancer.
Subtle warmth and complexity arise from warming spices like cinnamon sticks, freshly grated ginger, and a few whole cloves. These not only intensify flavor but possess anti-inflammatory properties. A splash of fresh lemon juice brightens the syrup, boosting vitamin C content and balancing richness. This trio of ingredients delicately layers sweetness, spice, and acidity to highlight elderberries’ benefits beautifully.
Mastering the Simmering Process for Optimal Extraction
Simmering elderberries carefully unlocks their full medicinal potential by extracting anthocyanins and other phytonutrients into the syrup. Place the selected elderberries in a heavy-bottomed saucepan with water just to cover them. Bring to a gentle boil, then lower the heat to a steady simmer allowing the berries to burst naturally, releasing vibrant juices and rich color.
Simmer for 40-50 minutes, stirring occasionally to prevent sticking and to ensure all pigments and nutrients are drawn out effectively. Avoid boiling too vigorously, which can degrade delicate compounds and yield a bitter taste. After simmering, mash the berries lightly with a wooden spoon to extract all flavors before straining through a fine mesh sieve or cheesecloth, ensuring a smooth, luscious syrup base.
Storing and Preserving Elderberry Syrup for Long-Lasting Freshness
Proper storage is key to maintaining the robust flavor and health-boosting qualities of your syrup. Transfer the warm elderberry syrup into sterilized glass bottles or jars, leaving a little headspace for expansion. Seal tightly and refrigerate immediately.
Crafting the Perfect Elderberry Syrup advises keeping the syrup refrigerated, where it will stay fresh and potent for up to 3 months. For extended shelf life, consider freezing smaller portions in silicone molds or ice cube trays for easy thawing by the tablespoon. Adding a touch of raw honey or a splash of vodka as a natural preservative can further extend longevity without compromising purity or taste.
Prep and Cook Time
- Preparation: 15 minutes
- Simmering: 45 minutes
- Total Time: 1 hour
Yield
Approximately 2 cups of elderberry syrup (about 16 servings at 1 tablespoon each)
Difficulty Level
Medium – beginner-friendly with attention to simmering and straining
Ingredients
- 2 cups fresh or 1 cup dried elderberries, washed and destemmed
- 4 cups filtered water
- 1/2 cup raw honey (add after cooling)
- 1 cinnamon stick
- 1 tablespoon fresh grated ginger
- 3 whole cloves
- 2 tablespoons fresh lemon juice
Instructions
- Prepare the berries: Rinse elderberries gently and remove any stems or debris. If using dried berries, lightly crush to release flavor.
- Combine ingredients for simmering: In a medium saucepan, add elderberries, filtered water, cinnamon stick, grated ginger, and cloves. Bring to a boil over medium heat.
- Simmer gently: Reduce heat to low and simmer uncovered for 40-50 minutes, stirring occasionally to prevent sticking and promote even extraction. The liquid should reduce by about half and develop a deep, rich color.
- Strain the syrup: Remove from heat. Using a fine mesh sieve or cheesecloth, strain the mixture into a clean bowl. Press gently on the solids to extract maximum juice without crushing seeds, which can impart bitterness.
- Add natural sweetener: Let the liquid cool to lukewarm, then stir in raw honey and fresh lemon juice, mixing thoroughly. Honey adds both sweetness and antimicrobial benefits.
- Bottle your syrup: Pour into sterilized glass jars or bottles, seal tightly, and refrigerate. Label with the date of preparation.
Chef’s Notes
- For a vegan alternative, swap honey with organic maple syrup or agave nectar, though honey is preferred for its medicinal qualities.
- If the syrup is too thick after refrigeration, gently warm and add a bit of water to loosen it for easier pouring.
- Always use non-metal utensils and pots to maintain the integrity of antioxidants.
- Explore our homemade immune boosting tonics to complement this syrup well.
- Consult the NCBI research for detailed scientific insights on elderberry’s health benefits.
Serving Suggestions
Enjoy elderberry syrup by adding a tablespoon to warm water or herbal teas for a soothing immune boost. Drizzle over pancakes, yogurt, or oatmeal for a tart-sweet flavor lift. For a festive touch, garnish with a cinnamon stick or a thin slice of lemon when serving as a syrup drizzle or wellness shot.
| Nutrient | Per 1 tbsp Serving |
|---|---|
| Calories | 20 |
| Protein | 0.1g |
| Carbohydrates | 5g |
| Fat | 0g |

Q&A
Q&A: Crafting the Perfect Elderberry Syrup – Your Step-by-Step Guide
Q1: Why choose elderberries for syrup?
A1: Elderberries are nature’s tiny powerhouses, packed with antioxidants and vitamin C. Their syrup isn’t just deliciously tangy-it’s a time-honored remedy, boosting your immune system and soothing colds with every spoonful.
Q2: What kind of elderberries should I use?
A2: For syrup-making, always opt for fresh or dried European elderberries (Sambucus nigra). Wild elderberries can be bitter or even toxic if not prepared properly. And remember! Never consume raw elderberries-they need to be cooked to unlock their goodness.
Q3: How do I prepare elderberries for syrup?
A3: Start by stripping the berries from their stems-avoid stems, leaves, and unripe berries, which can cause stomach upset. Then rinse them gently. This gets your berries ready to simmer and transform into syrup magic.
Q4: What’s the secret to the perfect elderberry syrup consistency?
A4: Balancing water, elderberries, and sweetener is key. Simmer your berries with water to extract flavor, then strain and add honey or maple syrup while warm. The syrup should be thick enough to coat a spoon but pour smoothly-a luscious, pourable elixir.
Q5: Can I customize the flavor?
A5: Absolutely! Spice it up with cinnamon sticks, fresh ginger, or a splash of lemon juice during simmering. These enhancements bring warmth and brightness, turning your syrup into a personalized potion of health and flavor.
Q6: How should I store elderberry syrup?
A6: Keep it refrigerated in a clean jar or bottle, where it will stay fresh for up to a month. For longer shelf life, freeze portions or add a natural preservative like vitamin C powder. Treat your syrup like liquid gold-it deserves careful guarding!
Q7: How do I use elderberry syrup?
A7: Take a tablespoon daily as a wellness booster, mix it into teas, drizzle over pancakes, or stir it into cocktails. This versatile syrup is as delightful as it is medicinal.
Q8: Are there any safety precautions?
A8: Yes! Never eat raw elderberries or their parts; always cook them thoroughly. If you’re pregnant, nursing, or on medication, check with a healthcare provider before adding elderberry syrup to your routine.
With these insights and a little kitchen alchemy, you’re ready to craft elderberry syrup that’s not only delicious but a beacon of health through the seasons. Cheers to your homemade wellness!
Closing Remarks
As the rich, tangy essence of elderberries melds with fragrant spices and natural sweeteners, your homemade syrup becomes more than just a remedy – it transforms into a crafted elixir of wellness and tradition. With each carefully measured step, you’ve uncovered the art and science behind this ancient potion, ensuring a potent, flavorful result that’s ready to support your health all year round. Whether drizzled over pancakes, stirred into tea, or taken by the spoonful, your elderberry syrup is now a testament to patience and nature’s bounty. So go ahead-bottle your creation, share its benefits, and savor the sweet satisfaction of crafting the perfect elderberry syrup from scratch.


